Conservatory Roofing Project
Project to replace conservatory polycarbonate roof with GRP roofing – build diary
Background
Our conservatory measures approx. 5m x 5m and consists a blockwork/stone base with wooden construction above and rafters of 6” x 2” dimensions. The existing polycarbonate roof had begun to leak quite badly due to the sheets and rails becoming brittle with age.
Having evaluated options I did not want to replace the roof like for like due to the relatively short life span of polycarbonate. In addition we had previously insulated the spaces between the rafters and tongue and grooved the inside (ceiling) in an attempt to reduce the excessive summer temperatures and winter heat loss of the room.
We decided that a GRP roof was the way forward – the roofing sheets offered by SHAPES GRP provided an affordable option that I could fit myself and which would dramatically improve the aesthetics of the structure.
Planning
Initial planning involved discussion with Neil (Shapes GRP) about our requirements. This was an easy process with Neil happy to accommodate our ideas and to work to our specification.
I provided detailed measurements, angles etc. for the three main roof panels and the ridge and hip capping panels.
The ‘Build’ Itself
The first step was to remove the old polycarbonate and rails, making sure all nails were removed to provide a flat base for the new roof.

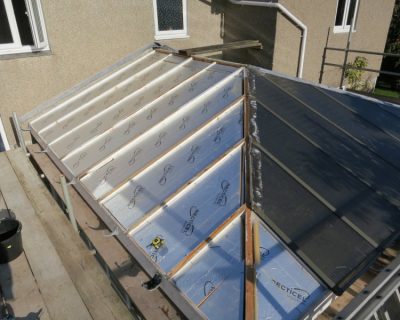

A solid base constructed from 19mm OSB3 roofing sheets (2400mm x 600mm T & G) was fixed securely to the rafters.
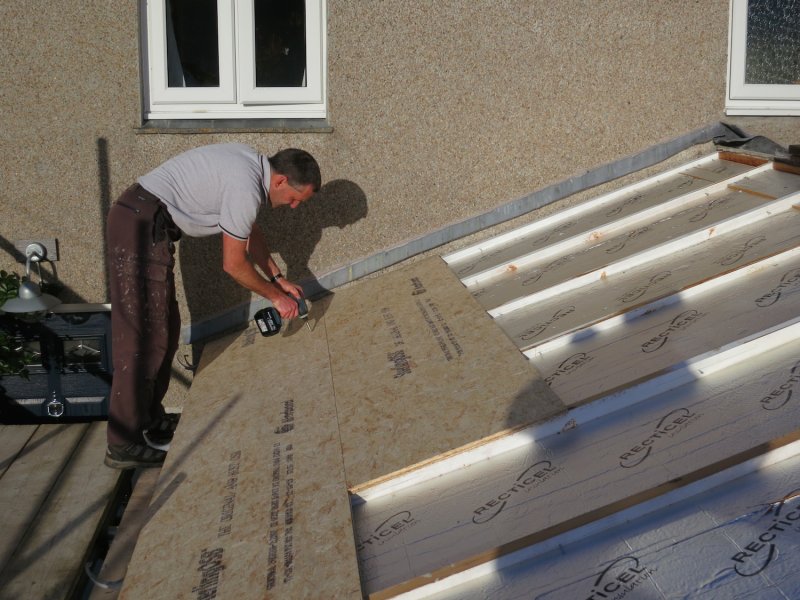
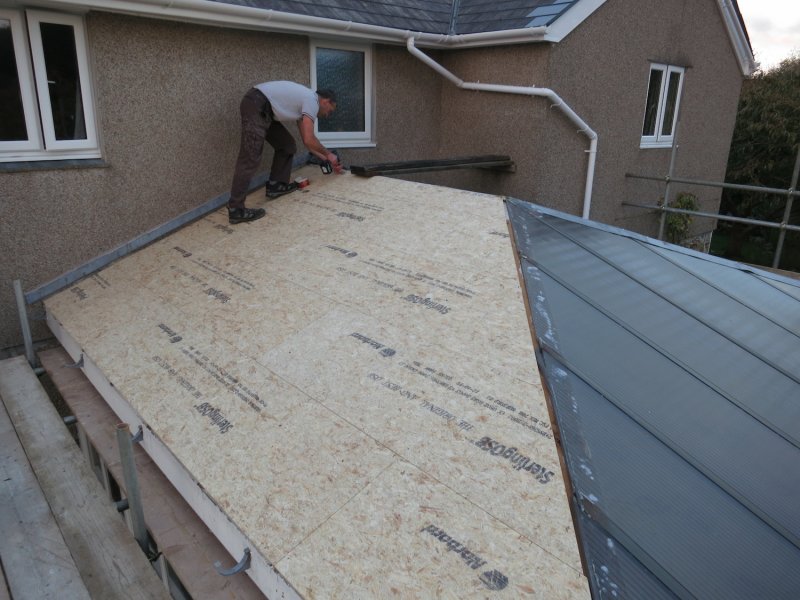

The existing valley was lined with a lead alternative roofing product – Ubiflex. This is much easier to work with than lead.

Templates were made using 2” x 1” timber for each of the roof panels, then offered up to the panels (still on the ground) to enable fine trimming of the sheets themselves. Neil had provided these slightly over size to allow for any error in my original measuring!
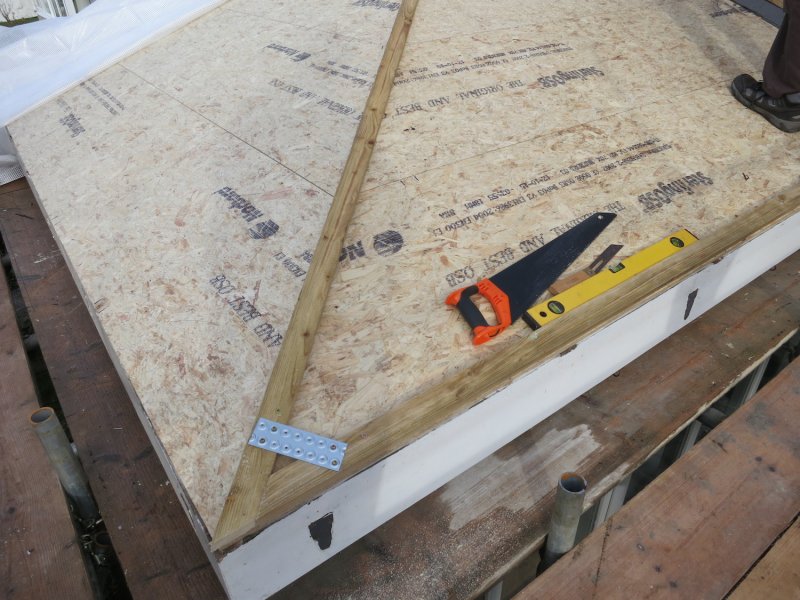


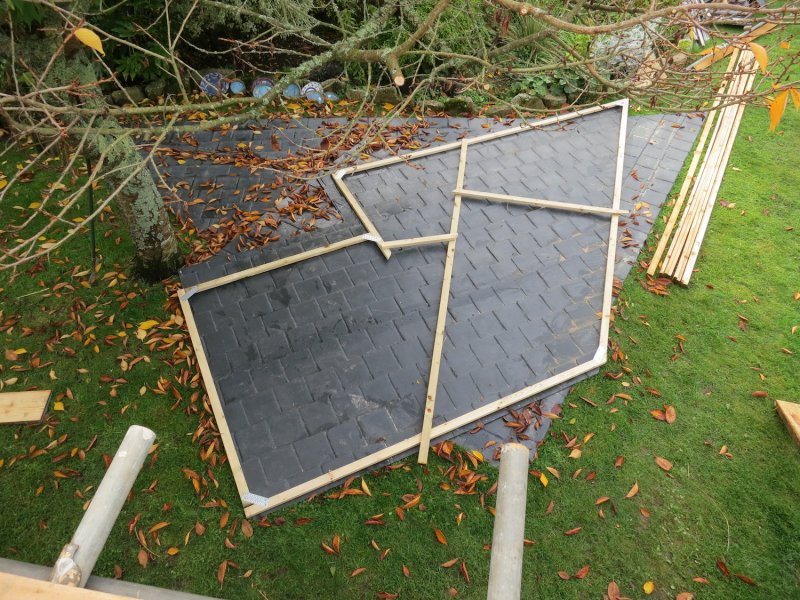

Only minimal trimming was necessary – achieved using a jigsaw fitted with RIFF blades. Take sensible precautions with the dust though!


Roofing membrane was laid on the roofing boards prior to laying the grp sheets as an added protection. The grp sheets themselves being secured to the boards using high quality stainless steel screws, countersunk slightly into the panels.


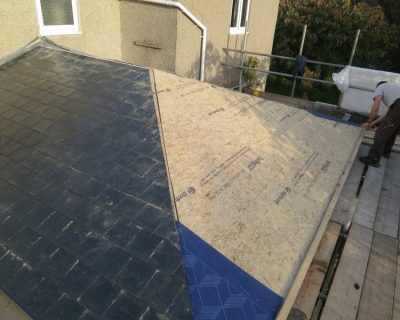
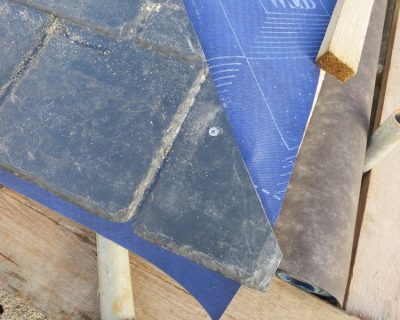
The next stage was to cut the ridge and hip capping sections. I opted to use more of the Ubiflex lead alternative here – applying this with its approved adhesive over the ridge and hips prior to laying the grp caps. For me this provided a “belt and braces” approach, ensuring that even with a roof with a relatively shallow pitch, no rainwater can run back into the roof. The ridge and hip grp caps were secured in the same manner as the large panels.


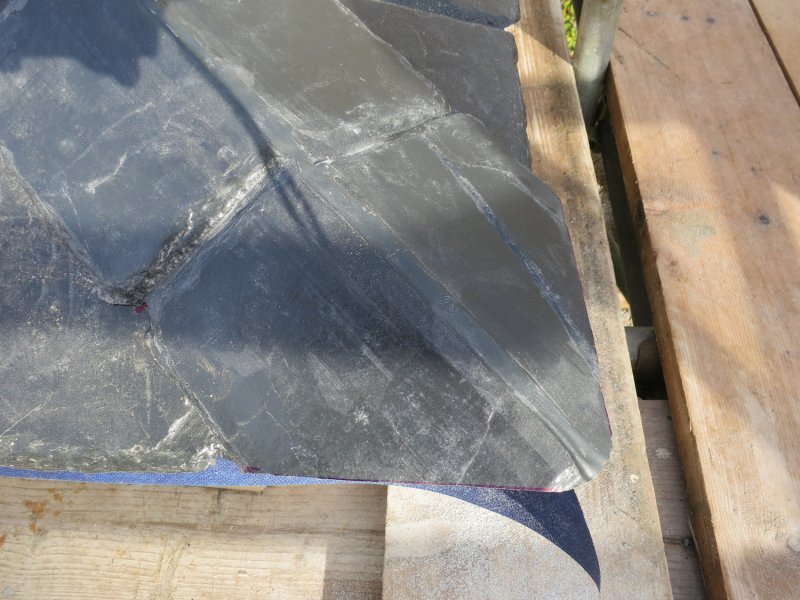


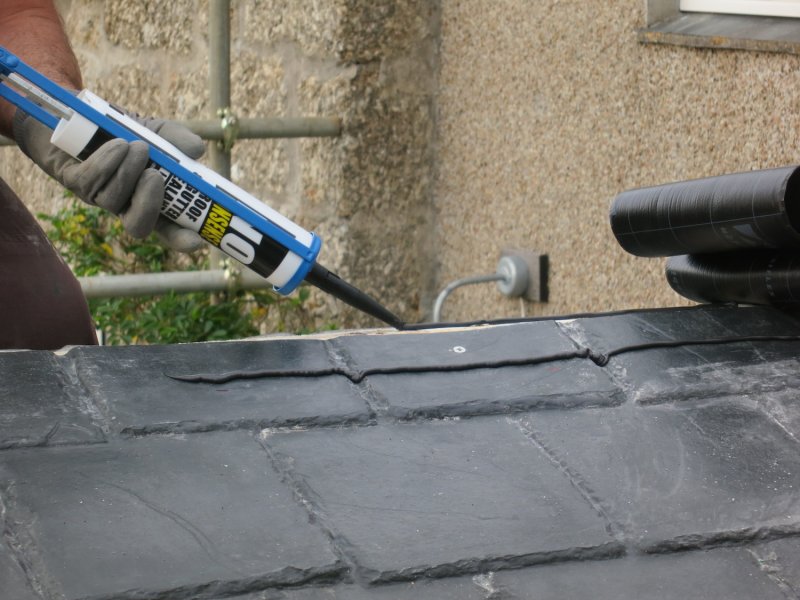

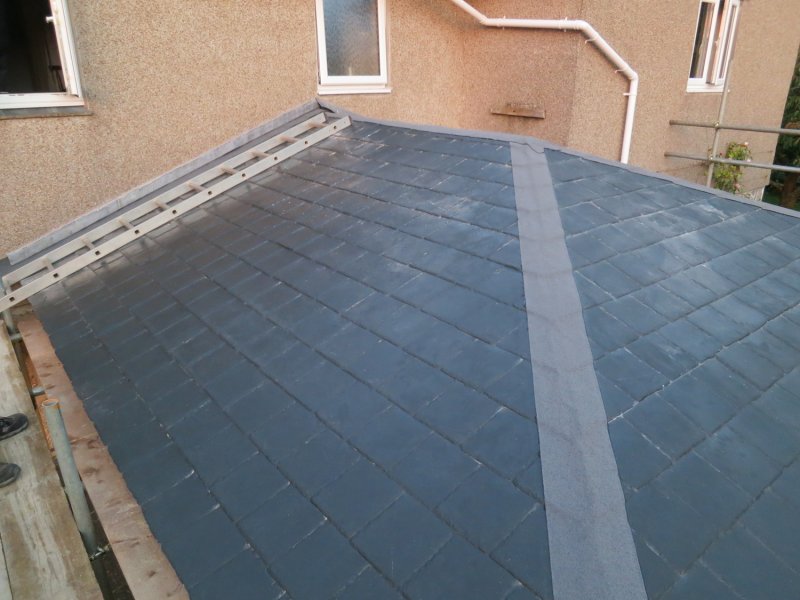

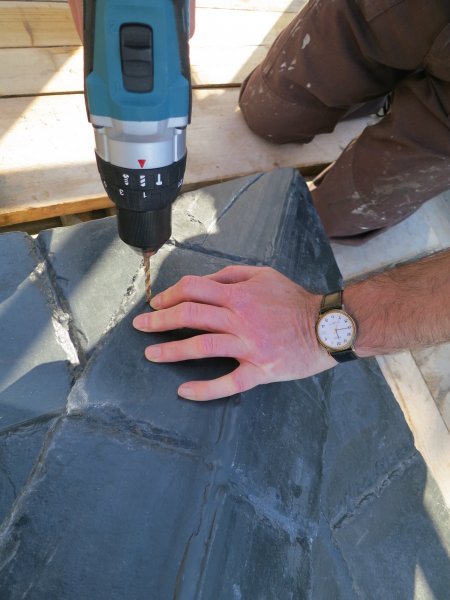
These photos show in detail the process to secure the panels. I ensured leading edges prone to high wind resistance had fixings quite closely spaced. Elsewhere on the panels fixings were provided wherever I identified any flexing in the grp.




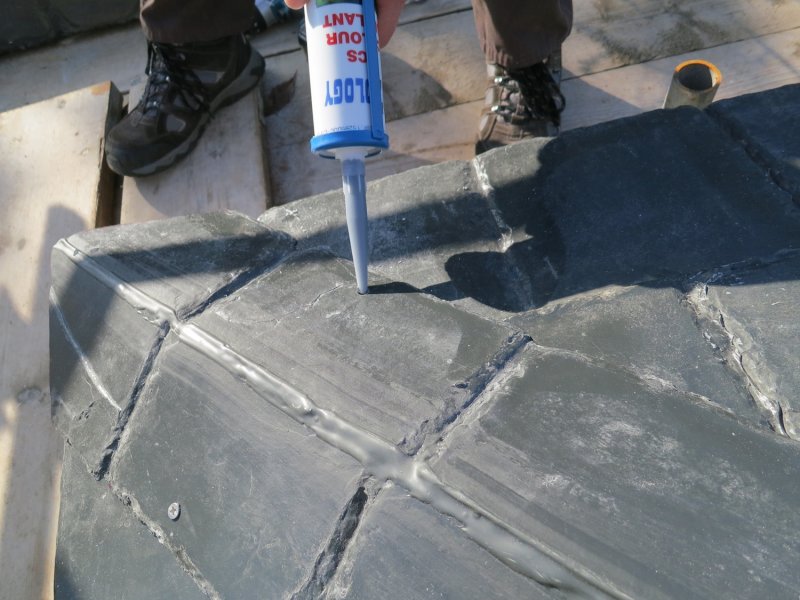

Again I used the Ubiflex to provide a flashing where the new grp roof met the wall of the house. The advantage over lead here was that I was able to press the Ubiflex to tightly follow the contour of the grp slate effect sheets, sealing the join with roofing silicone.

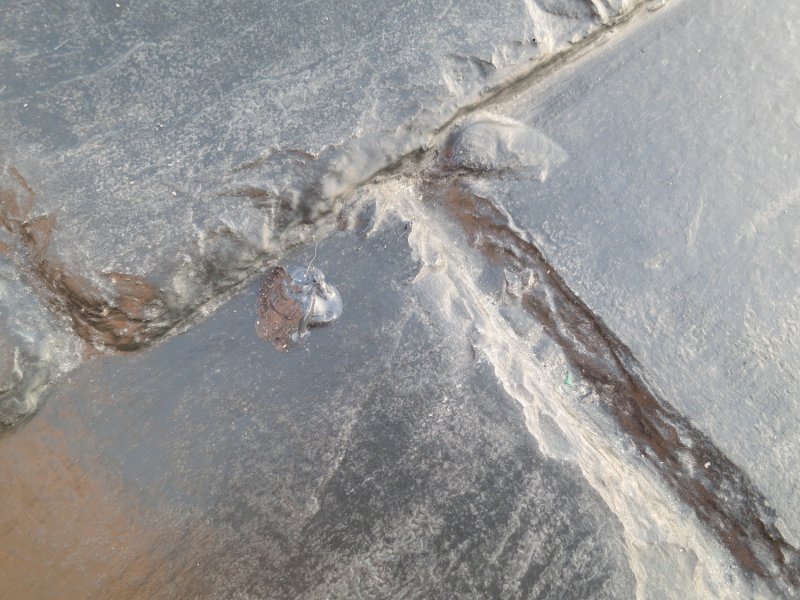
The final detail was to seal all of the stainless steel fixing screw heads with colour matched roofing silicone (provided by Shapes GRP).
The finished project once new fascia boards and rainwater goods had been fitted.


Conclusion
We are delighted with our new roof. Inside the room is quieter when it rains and much warmer (winter) so clearly has much better insulation properties when combined with the OSB boards.
The look of the panels is spectacular – we have to pinch ourselves to remind us that the panels are not actually slate!
Support via phone and email from Neil at Shapes GRP throughout the whole project was simply brilliant. I would say anyone with reasonable DIY skills could undertake a similar project.